Guide to using CLEOS commands on the EOS Authority Wallet
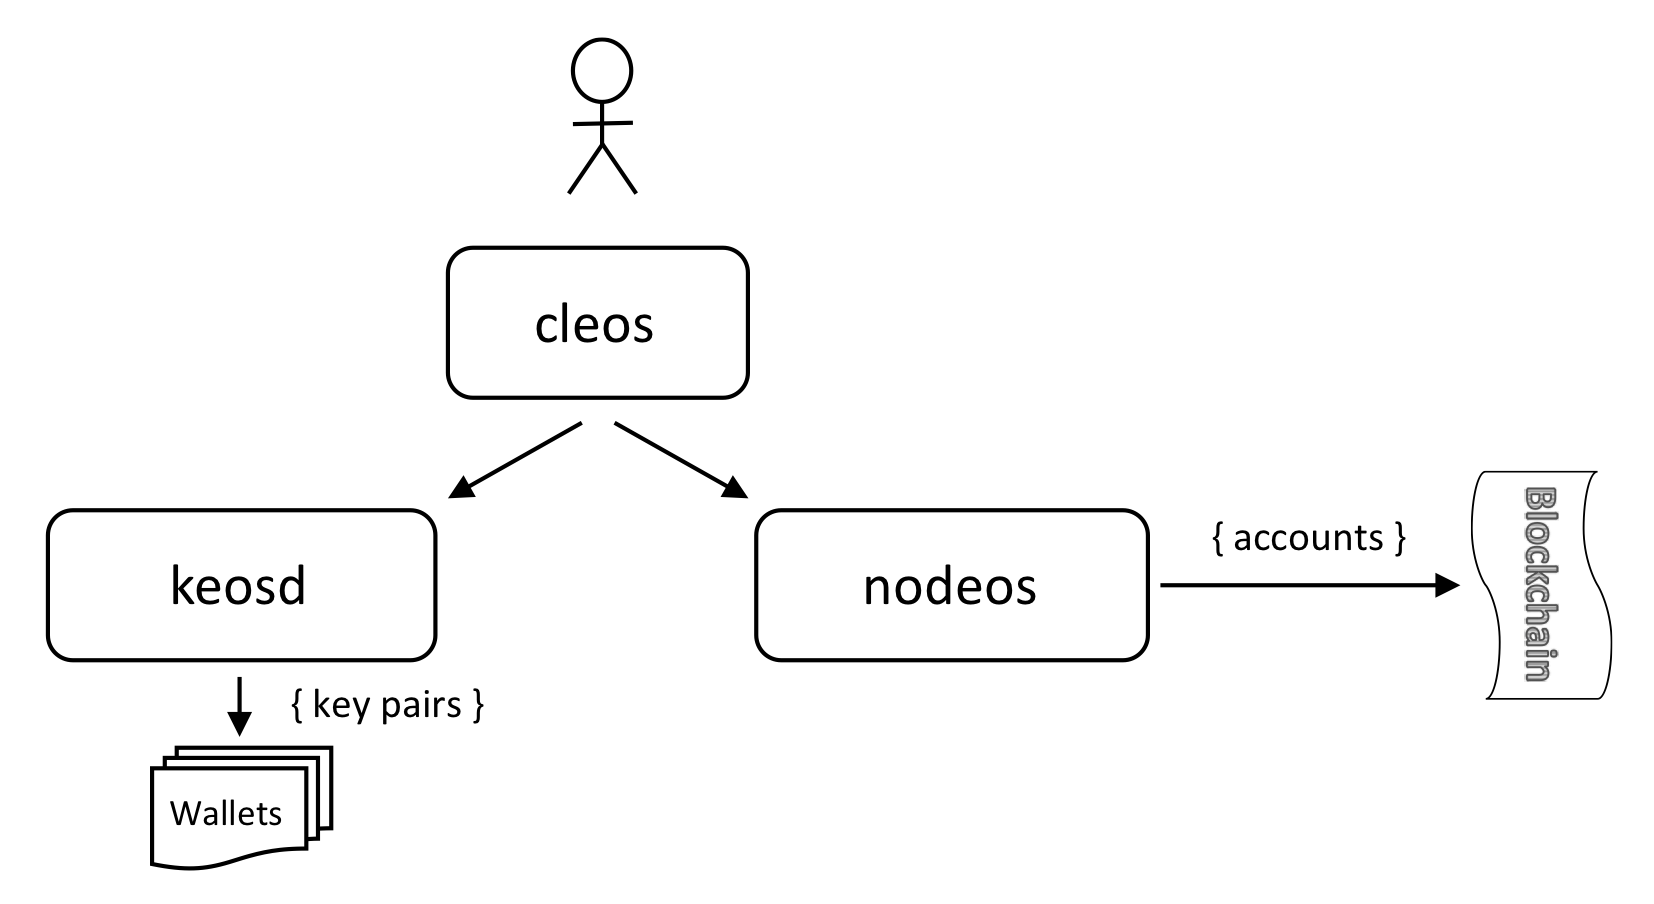
Cleos is a command line tool that interfaces with the REST API exposed by nodeos. It can be used to manage EOS wallets and accounts. Most developers use cleos to manage various functions on EOSIO chains. The diagram below provides a simple conceptual view of accounts and wallets in EOSIO.
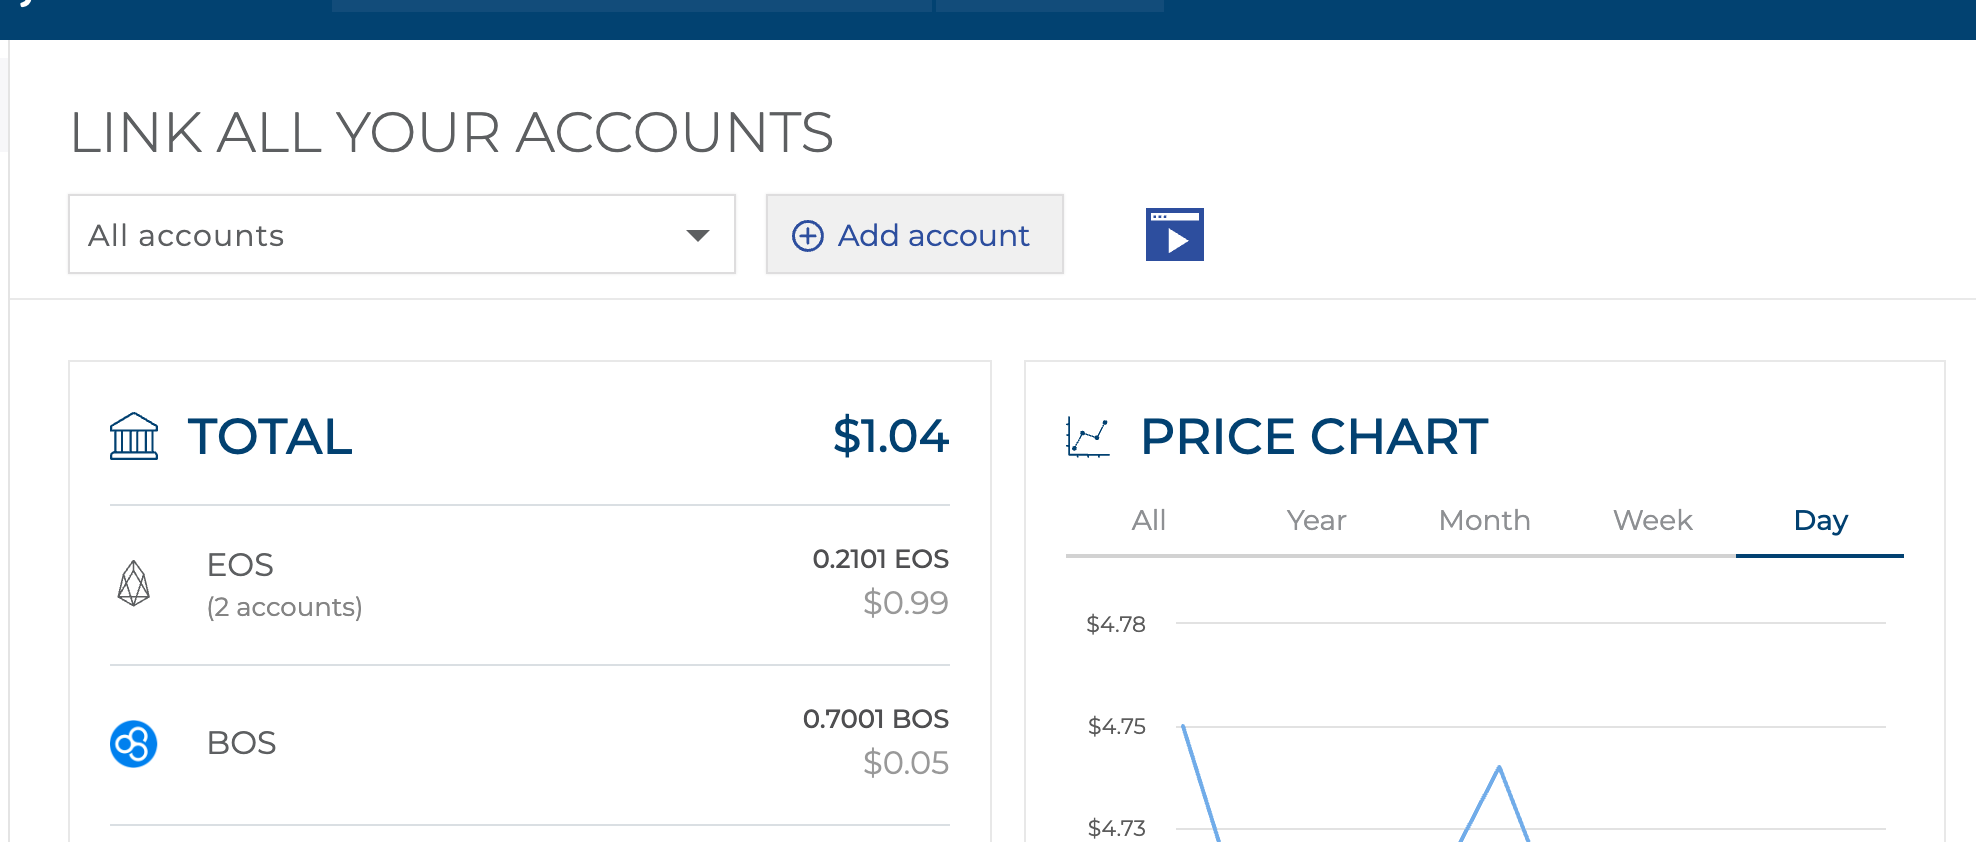
The Official wallet of EOS Authority makes it easy to use cleos. We generate the cleos commands for you. In this example we show you how to Get REX.
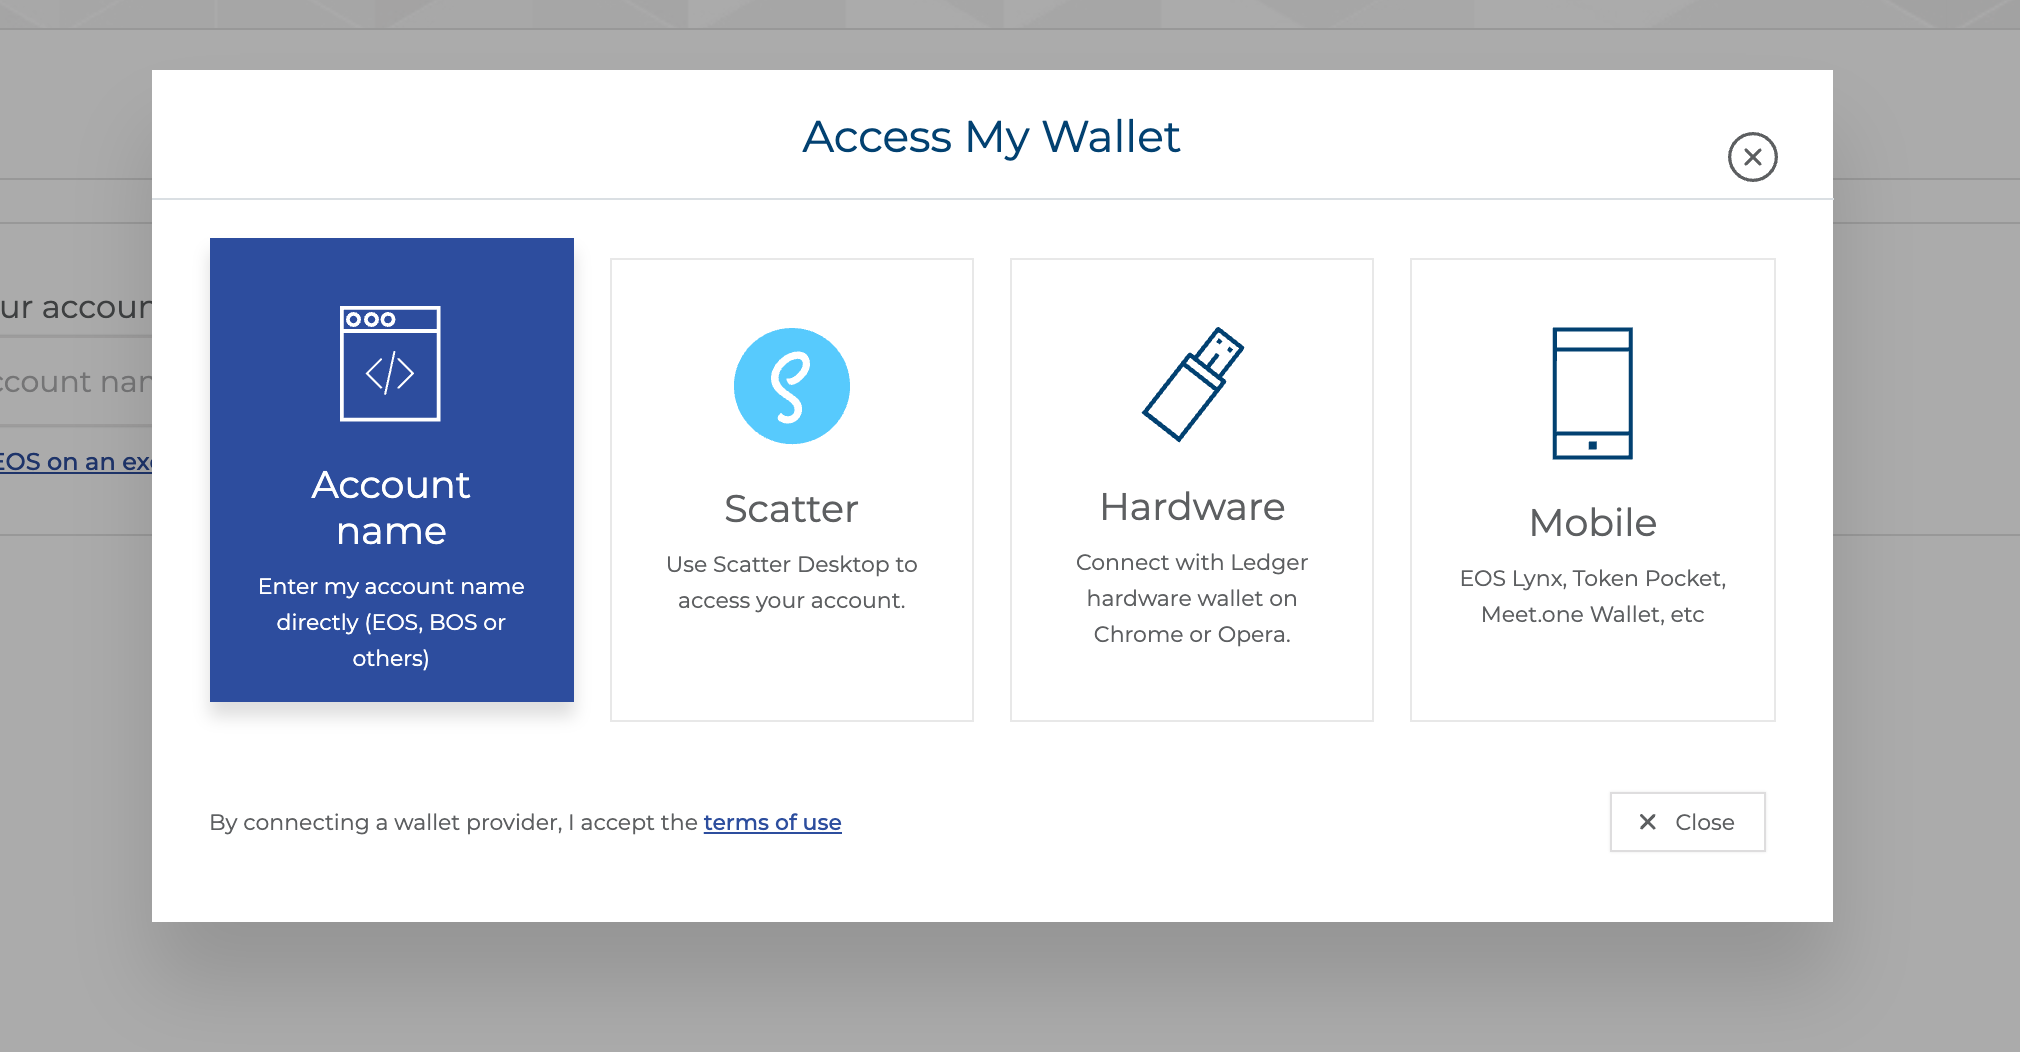
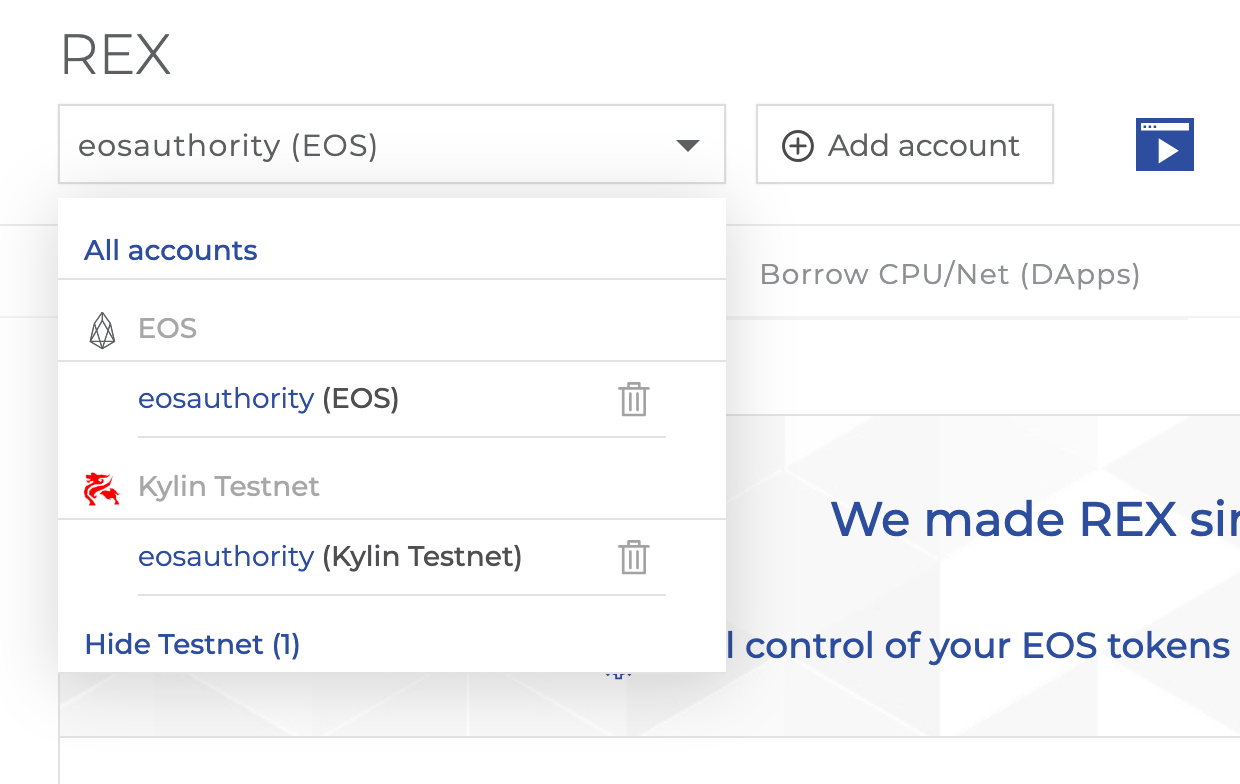
Step1: Add your account
- Open the Official Wallet by EOS Authority.
- Click on Add account.
Step 2: Add account by account name
- We have multiple options here, choose add account by account name.
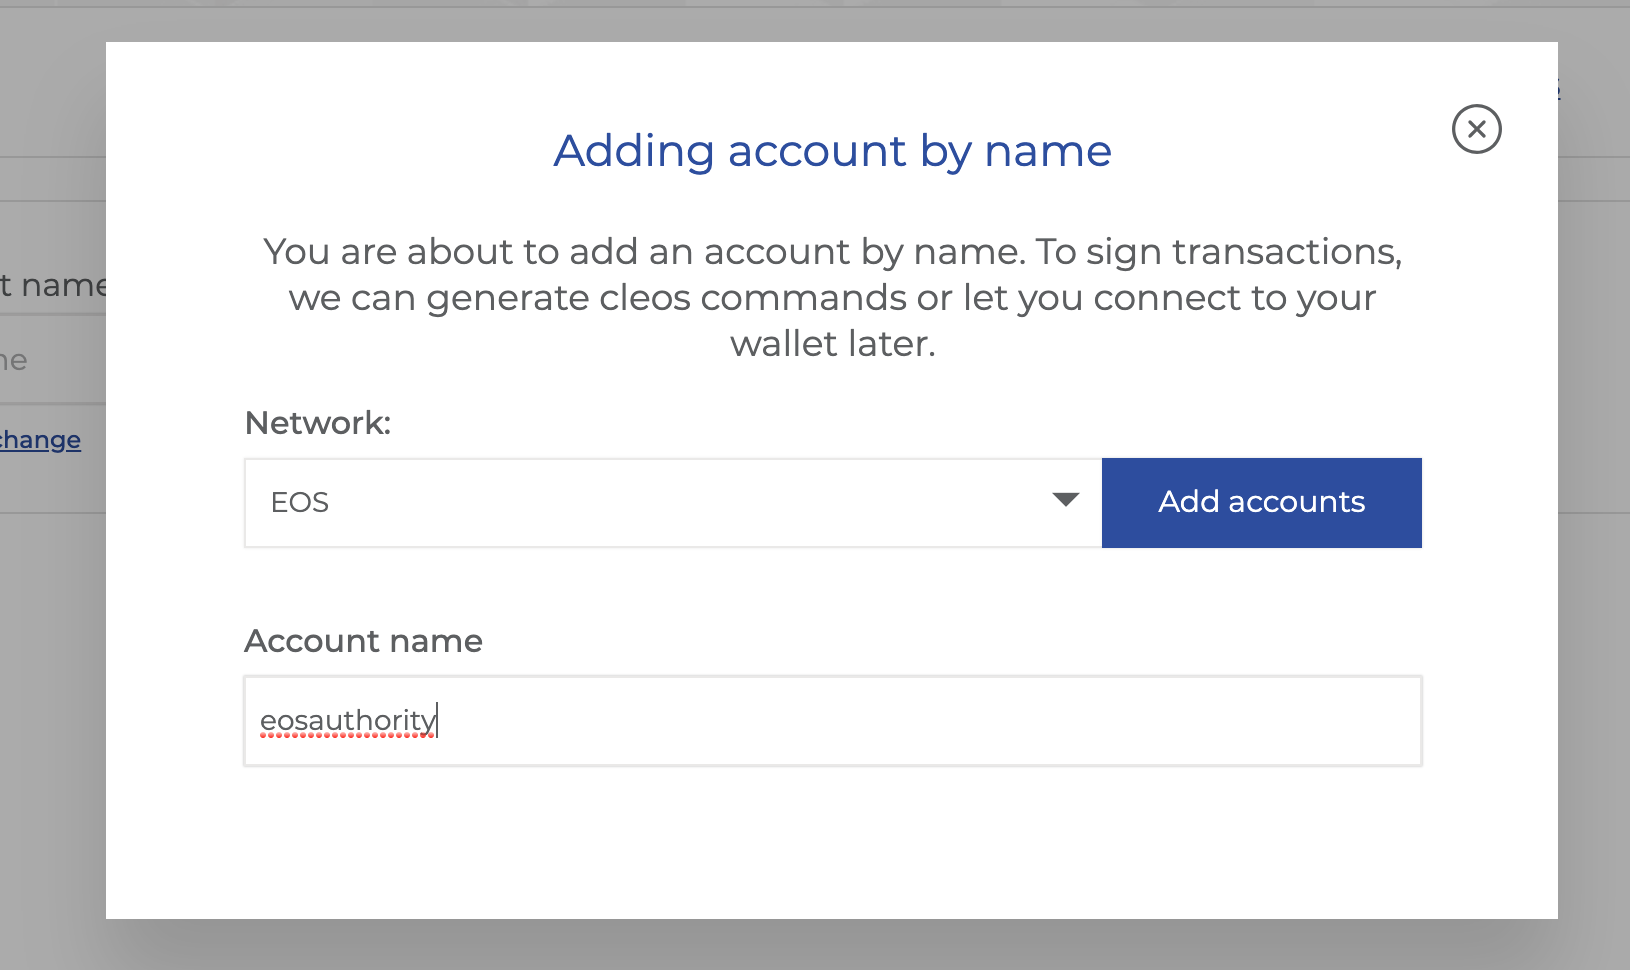
Step 3: Enter your account name
- You can choose any network from the dropdown.
- Then click on Add Accounts.
Step 4: Scanning complete
The system will scan all your accounts across all the chains and list it.
Step 5: Choose a wallet
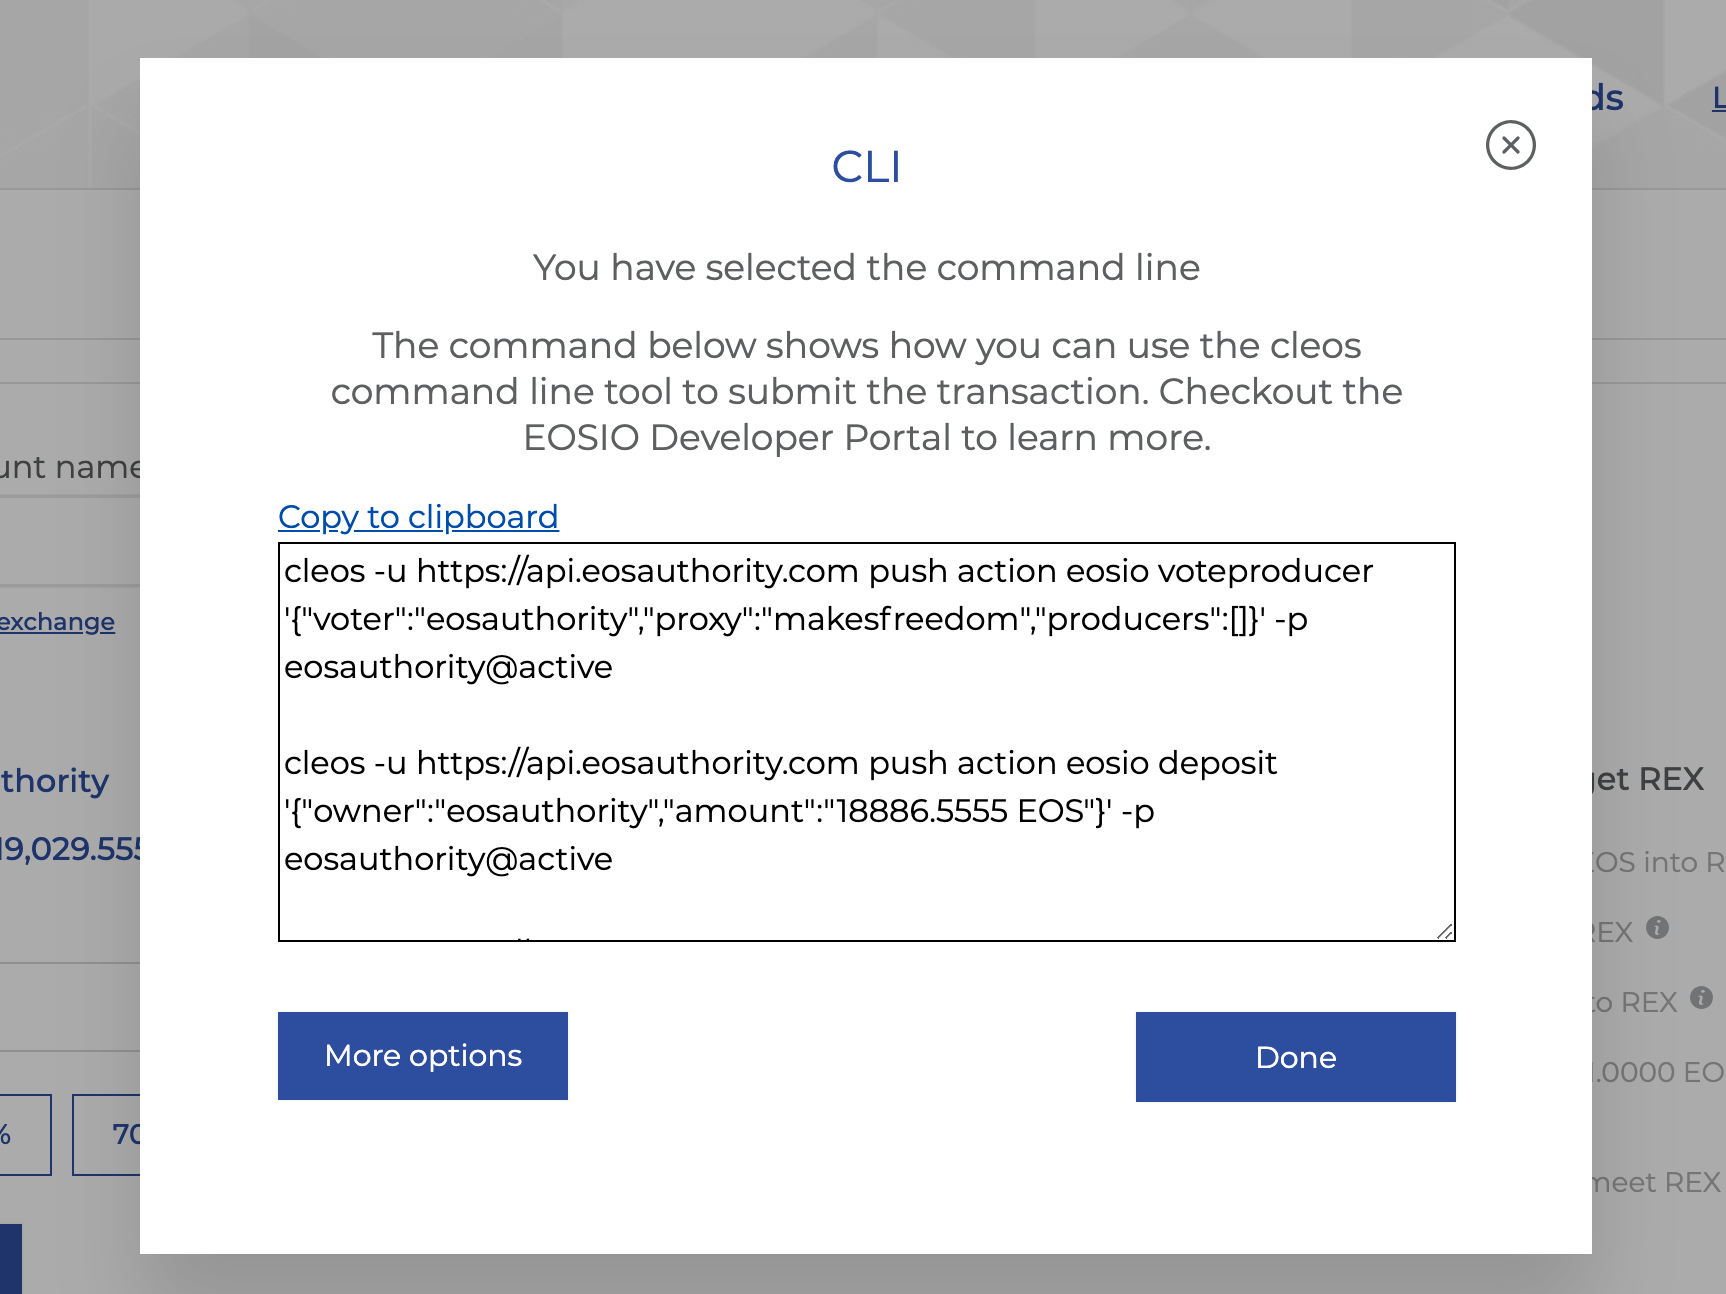
Perform any action you want on your wallet. When you try to submit, you get multiple actions. Cleos is an option on the list.

Step 6: Copy and execute
Copy to clipboard and paste on your command line tool of choice.
That's it, we've made it easy for developers to use cleos.
Sending custom transactions
You can even send custom actions to contracts.
Eg: Select the eosio contract https://eosauthority.com/account?account=eosio&network=eos.
Head to the contracts/tables section and then click on "Push transaction".
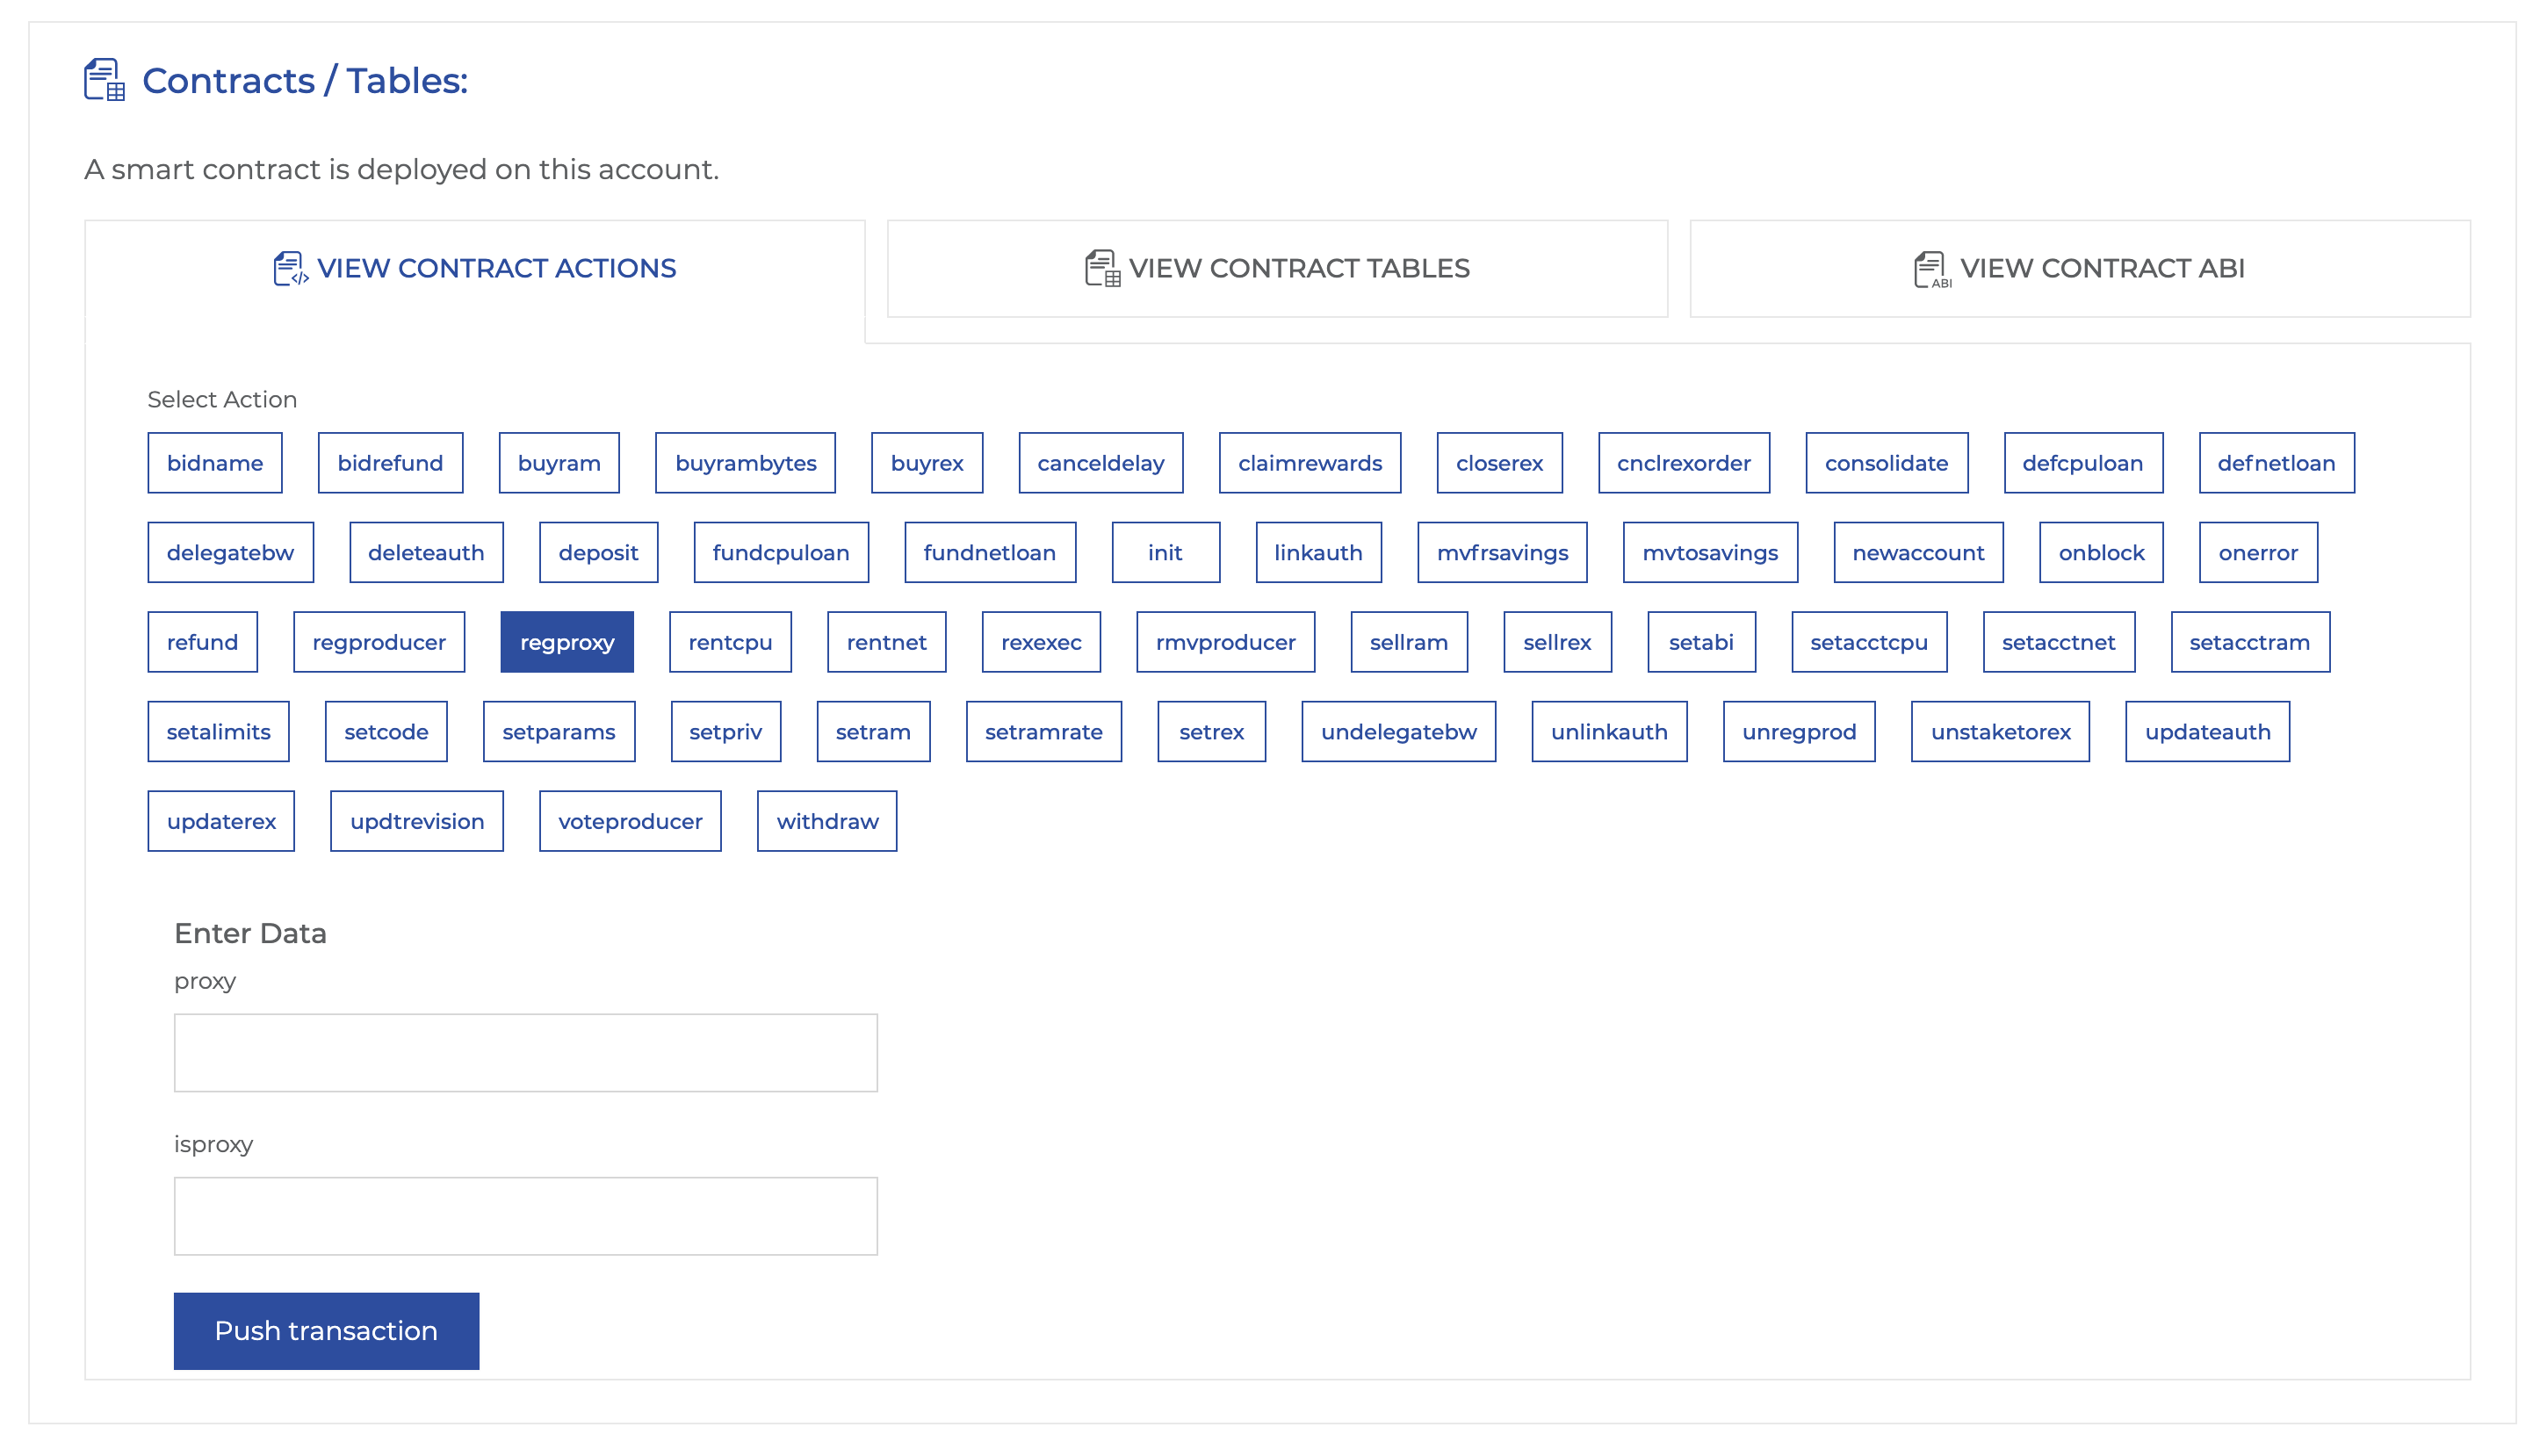
Then follow the same steps to get cleos commands.