Guide to using Ledger Nano S on the EOS Authority Wallet
It is much more secure to use a hardware wallet to manage various functions on EOSIO chains. Ledger Nano S is a very popular hardware wallet. The Official wallet of EOS Authority makes it easy to use Ledger Nano S. We interface with Ledger for you. In this example we show you how to Get REX.
Step1: Add your account
- Open the Official Wallet by EOS Authority.
- Click on Add account.

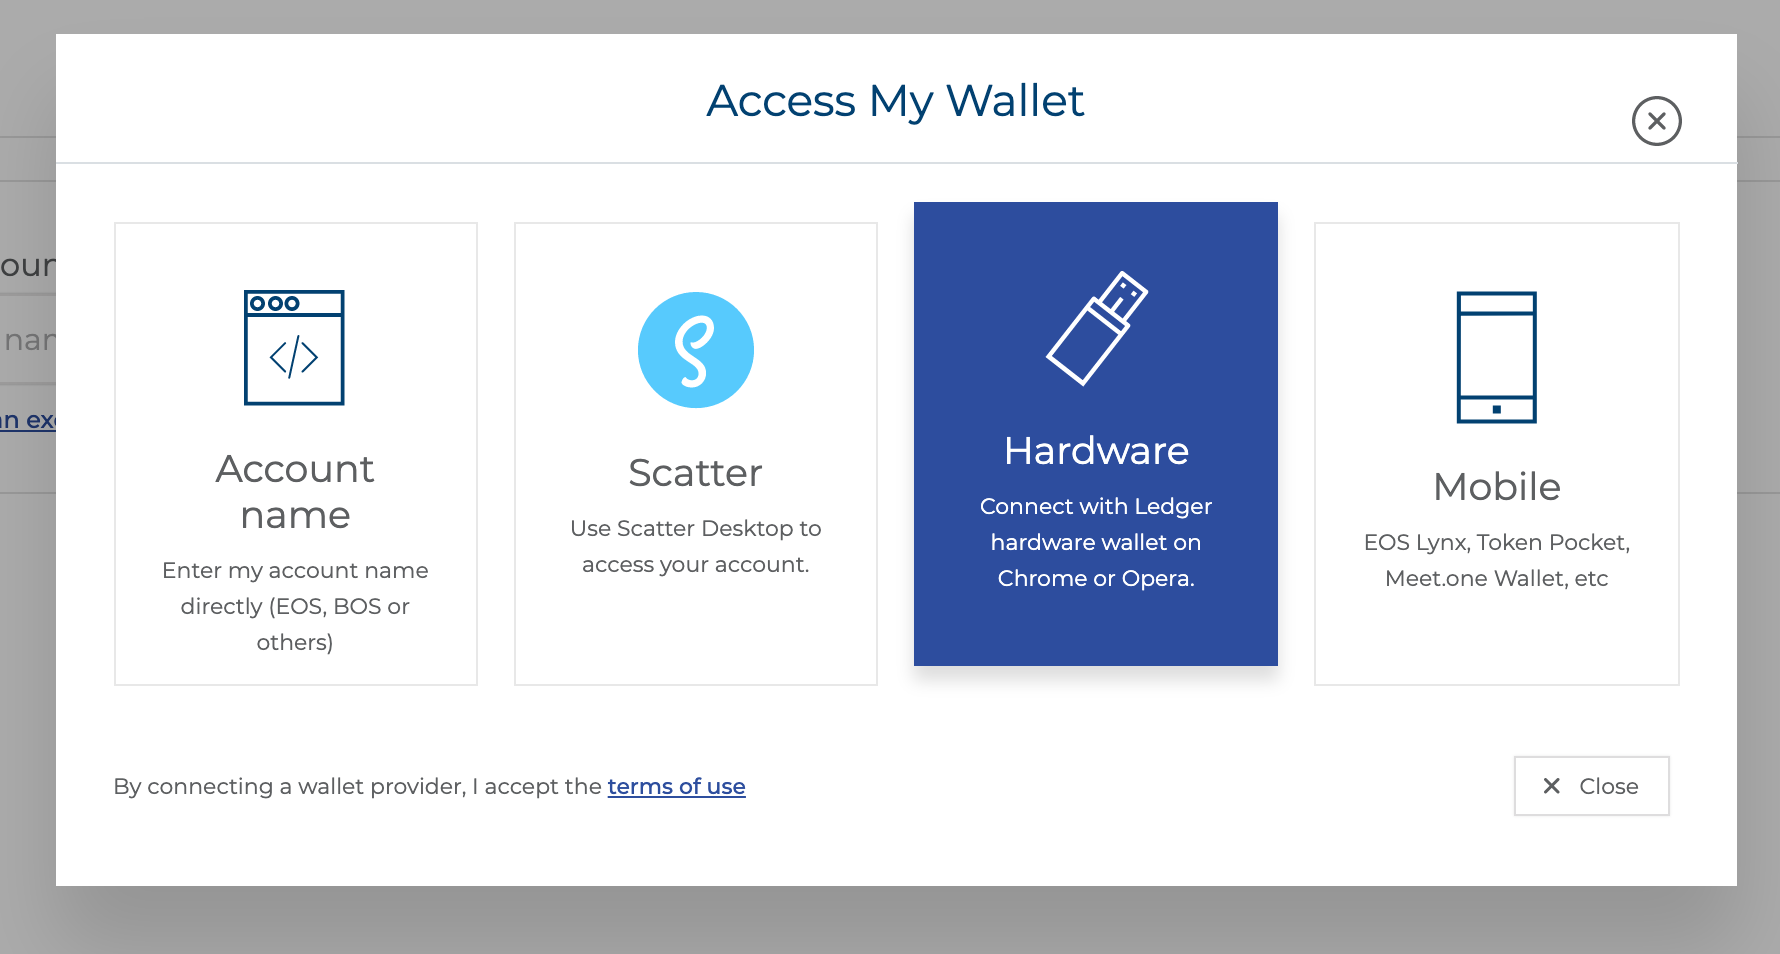
Step 2: Add account to the wallet
- We have multiple options here, choose the hardware wallet option.
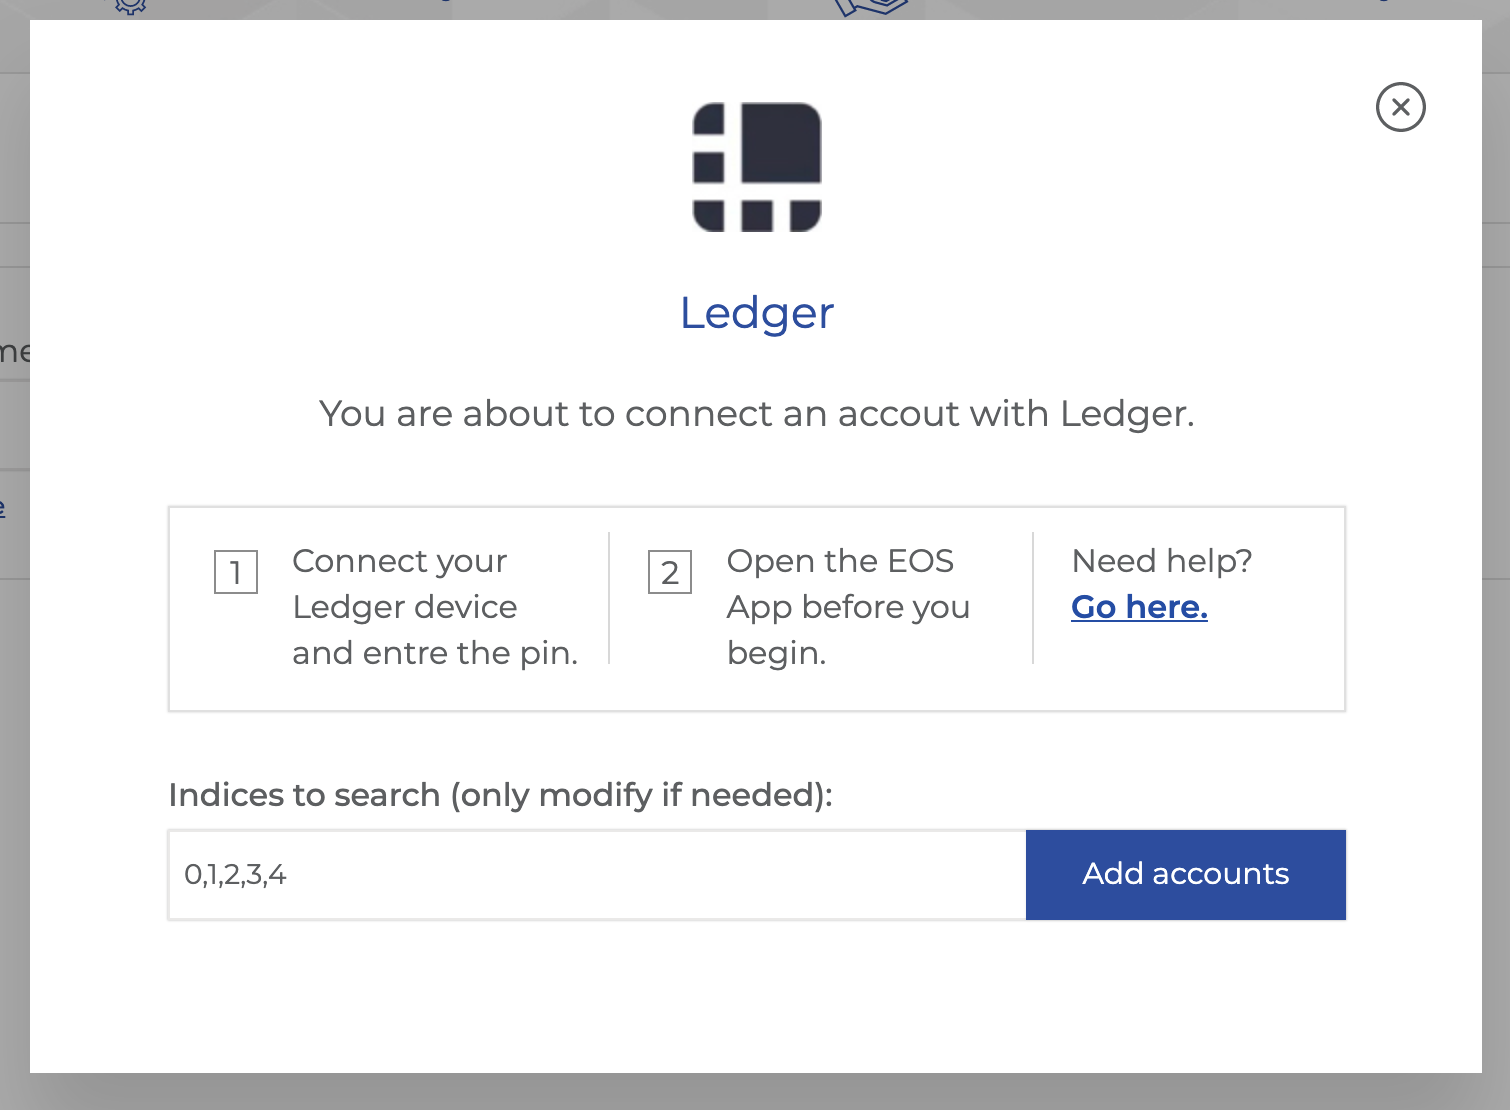
Step 3: Allow Ledger to be scanned
- This will scan the EOS network to find your accounts.
- All accounts connected to the keys will be listed. The Ledger can have several keys, the indices are used to select the keys to scan the various blockchains. In most cases you don't have to modify the indices.
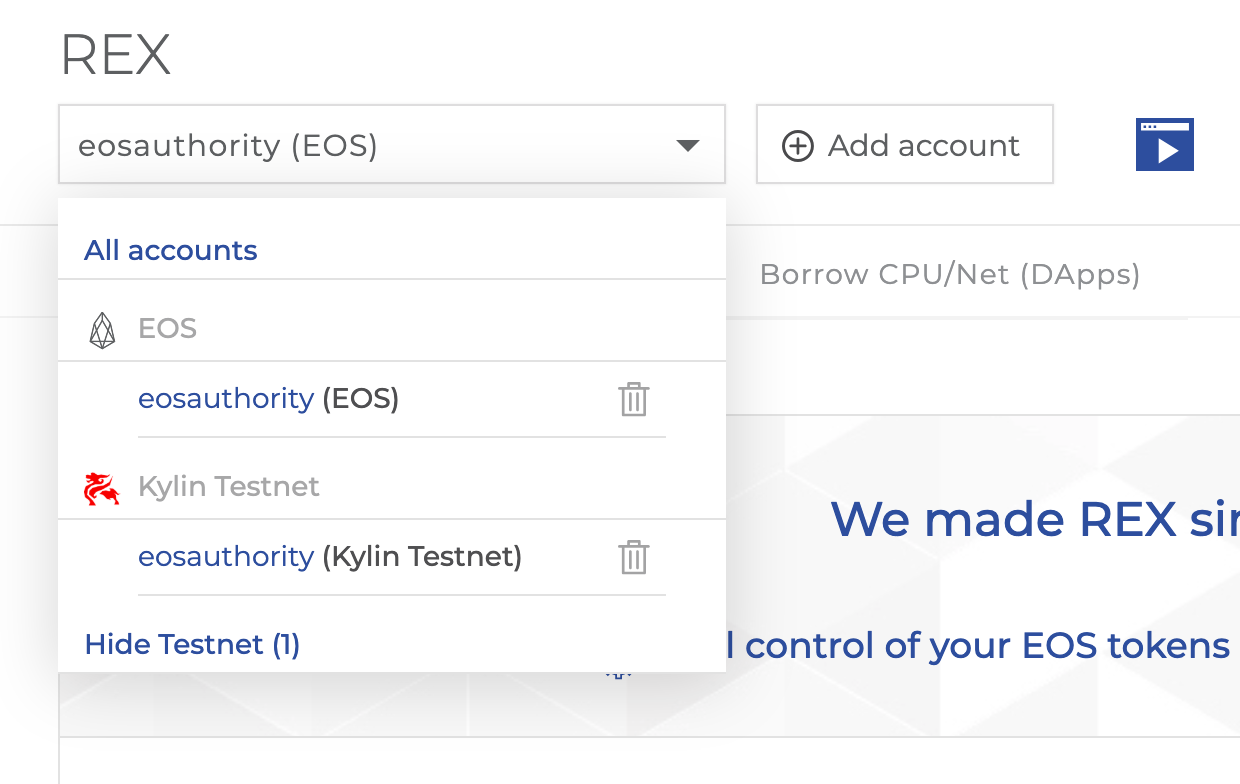
Step 4: Scanning complete
The system will scan all your accounts across all the chains and list it. If you don't see your account. just expand the dropdown.
Step 5: Choose a wallet
Perform any action you want on your wallet. When you try to submit, you get multiple actions. Hardware wallet is an option on the list
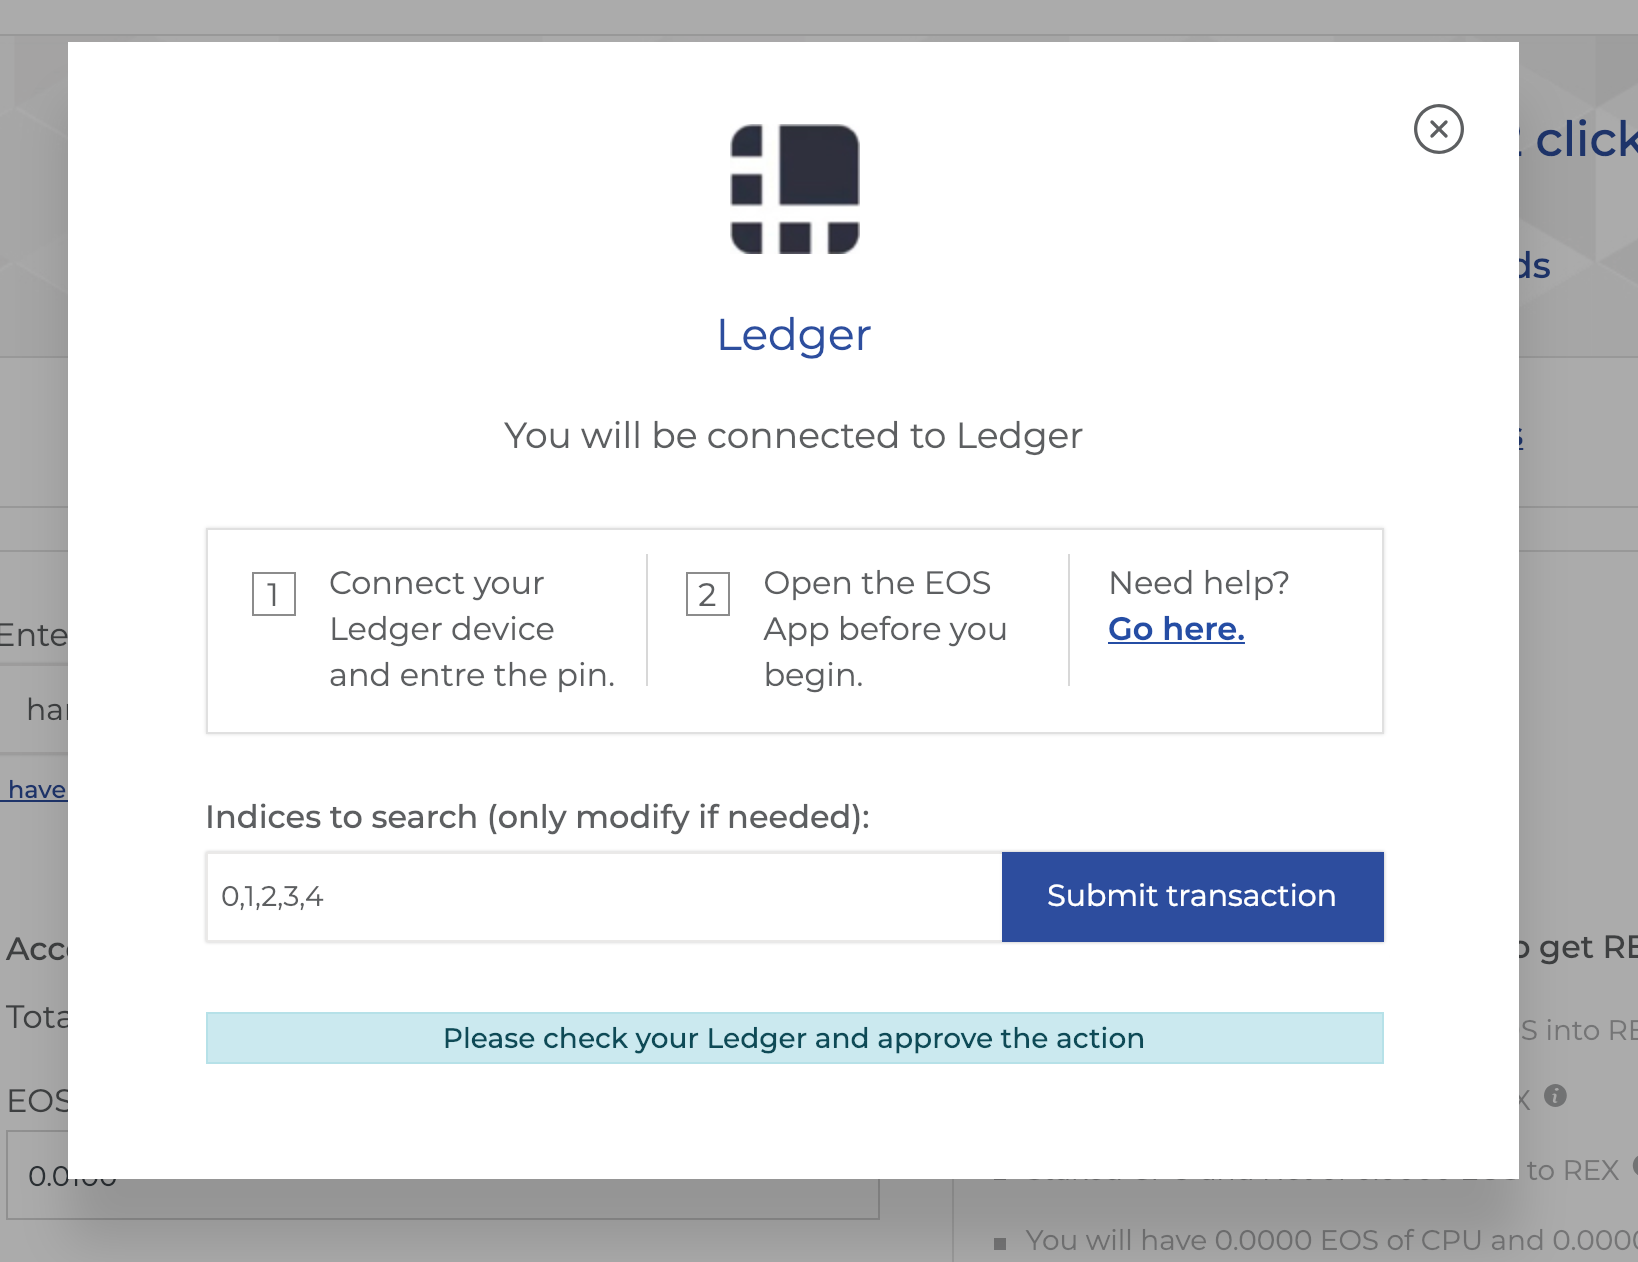
Step 6:
Approve transactions on your Ledger.
- If you are not fast enough, you will get an UTF Timeout error.
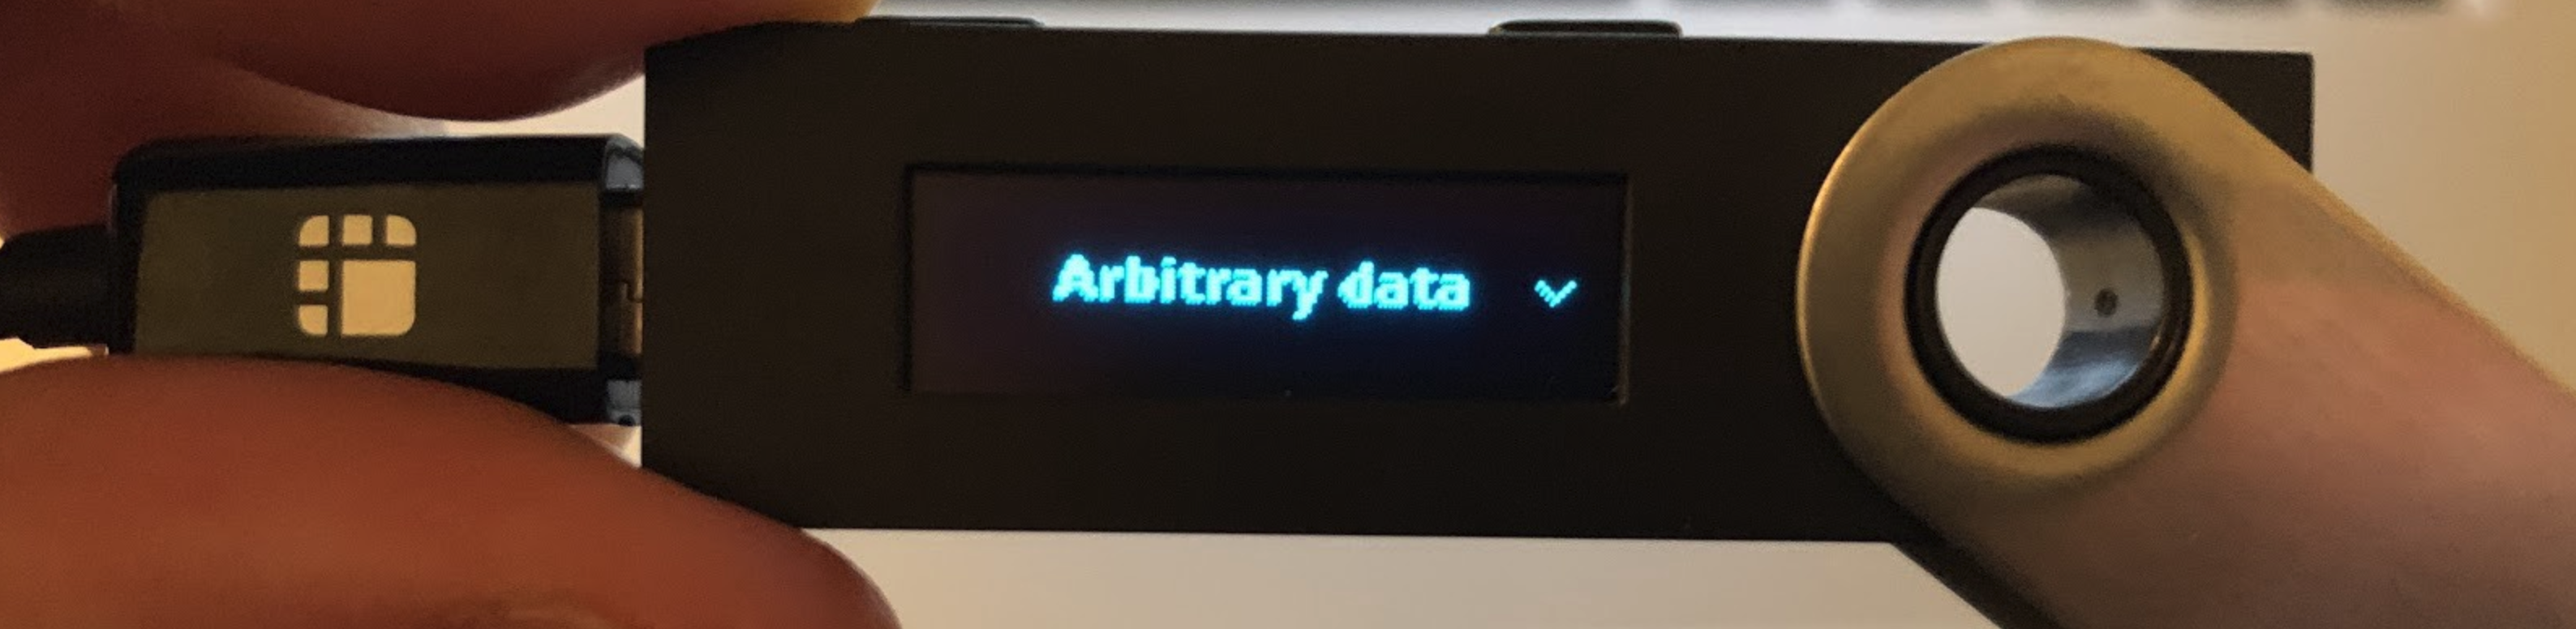
Enabling Arbritrary Data
You might need to enable Arbritrary data on the Ledger Device.
- Enter the EOS app by pushing both buttons.
- Enter settings.
- Push both buttons again when “Arbitrary Data” is shown on screen.
- Make sure to enable arbitrary data signing by selecting “yes” if it is not already selected.
This will allow signing within custom contracts.
Sending custom transactions
Eg: Select the eosio contract https://eosauthority.com/account?account=eosio&network=eos.
Head to the contracts/tables section and then click on "Push transaction"
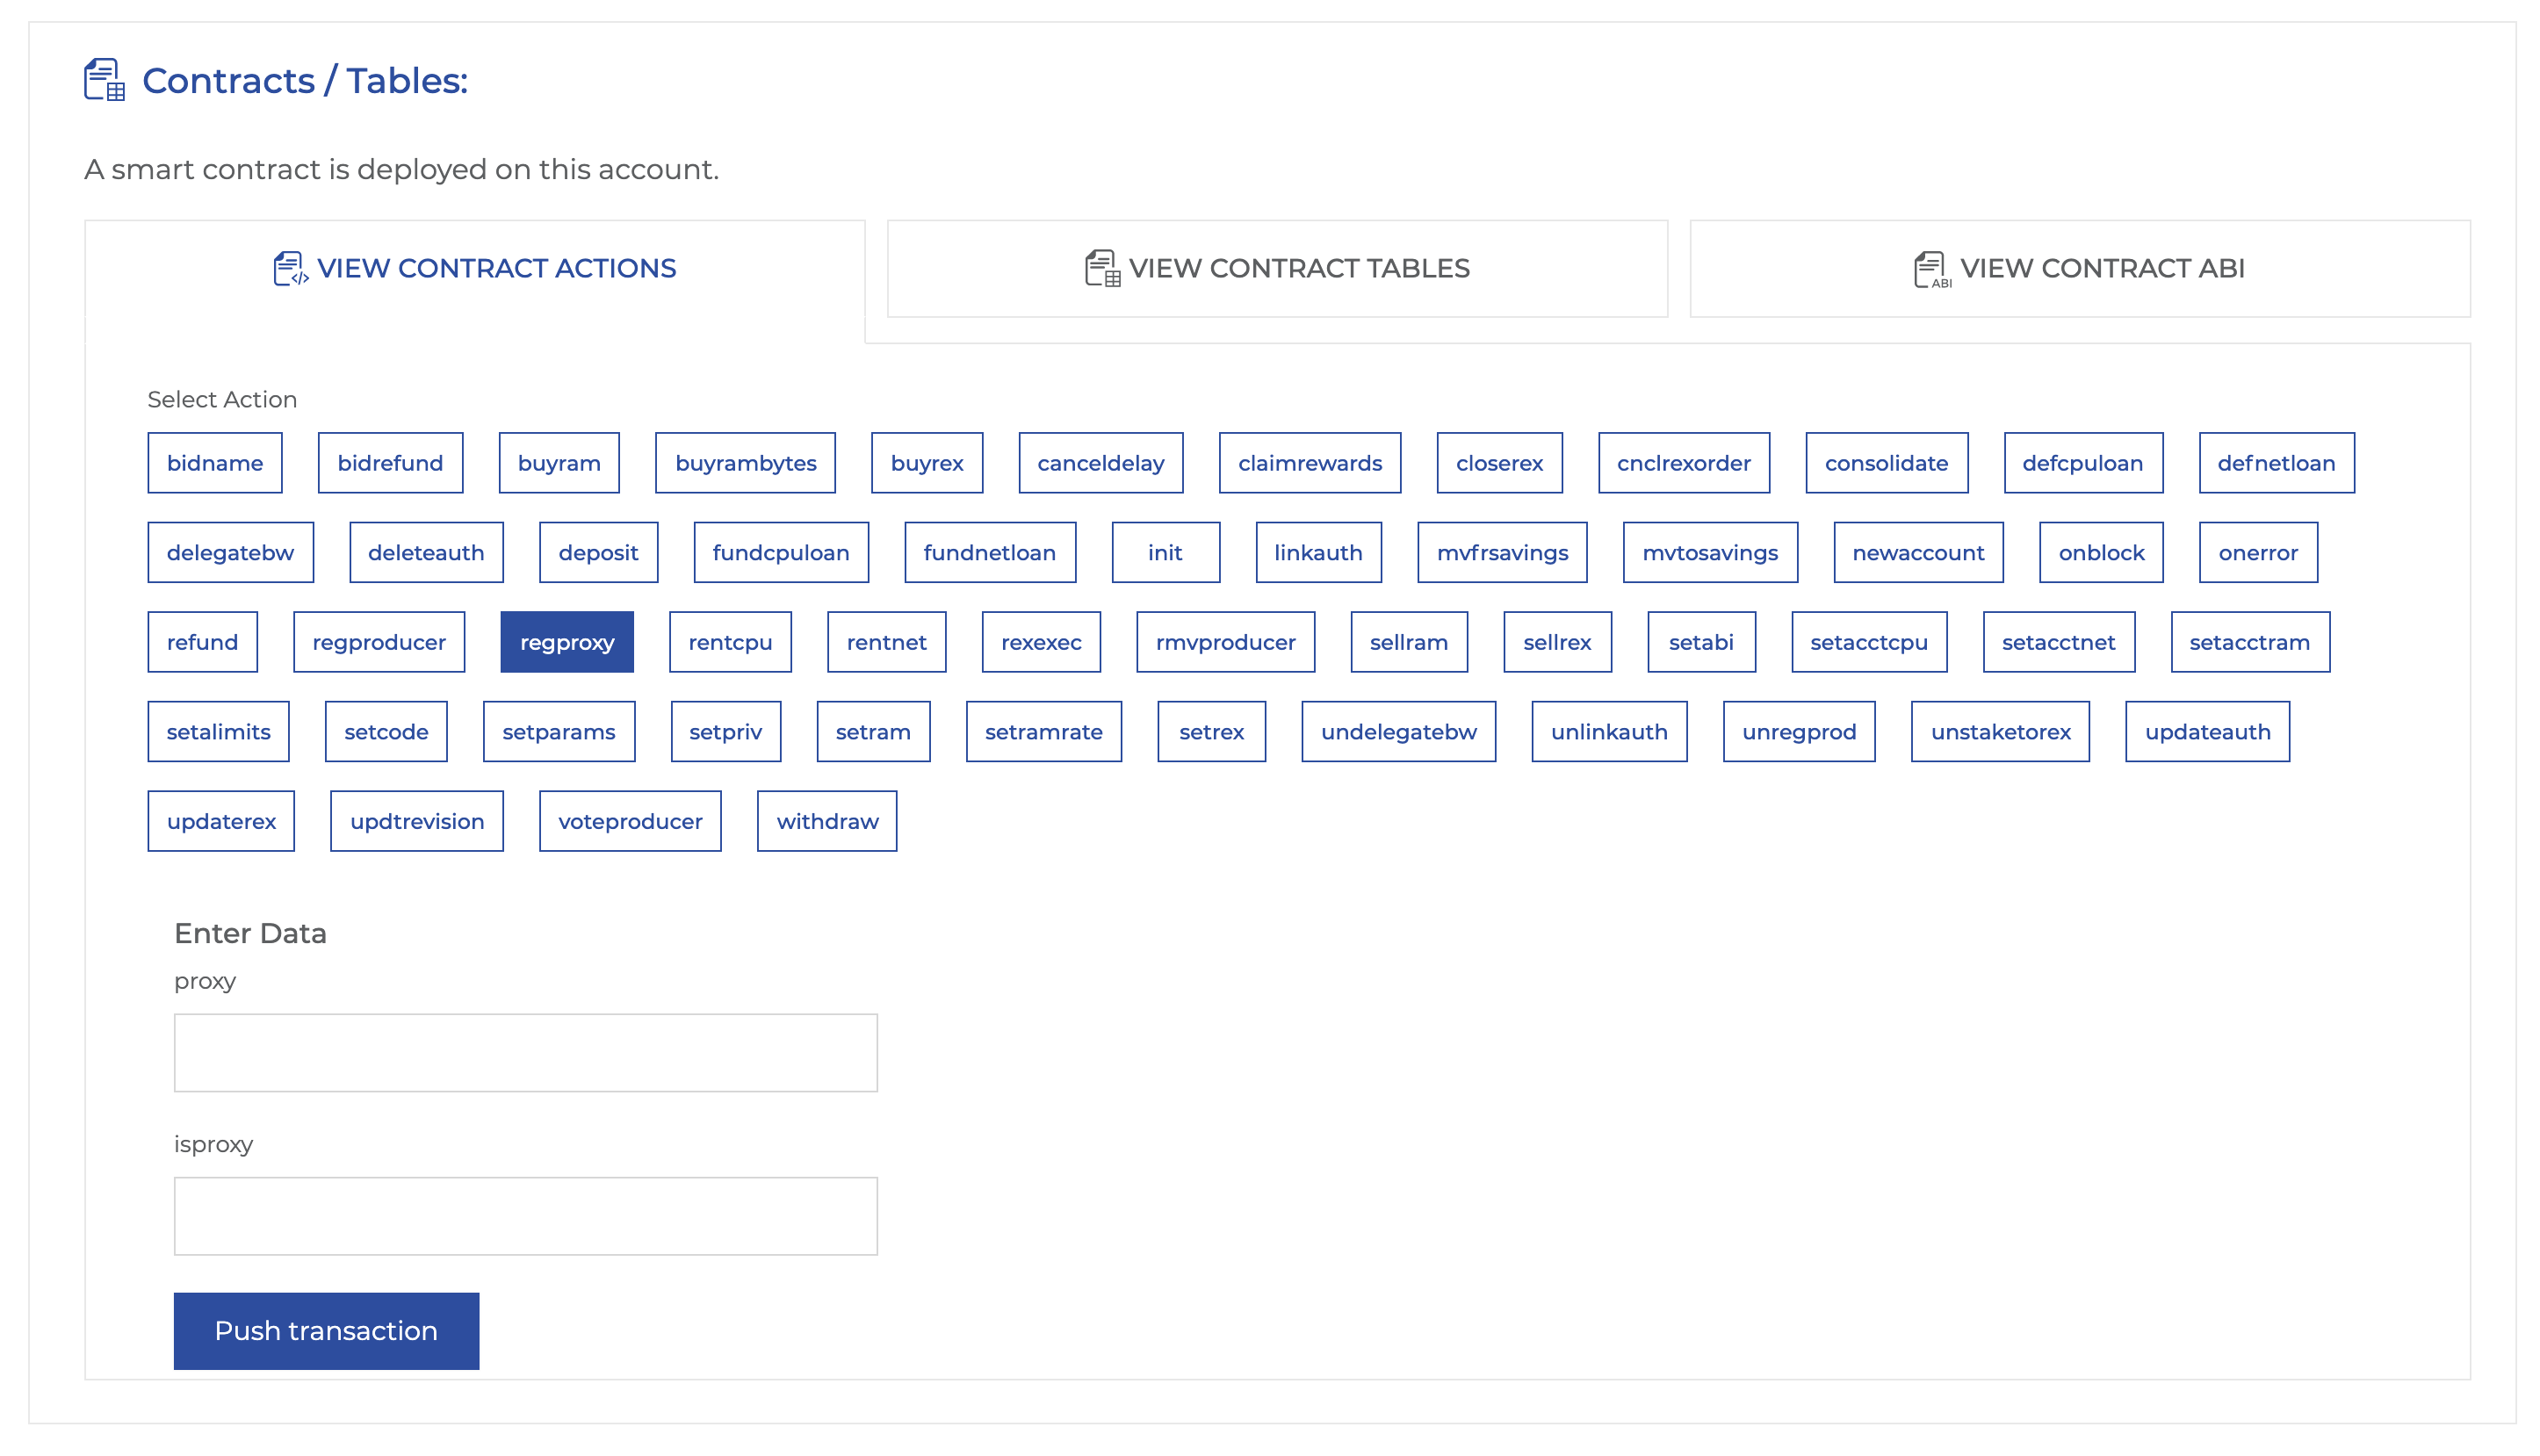
Then follow the same steps to get Ledger commands.